Exploring the Human Heart with DIY Pulse Monitors
29 November 2024
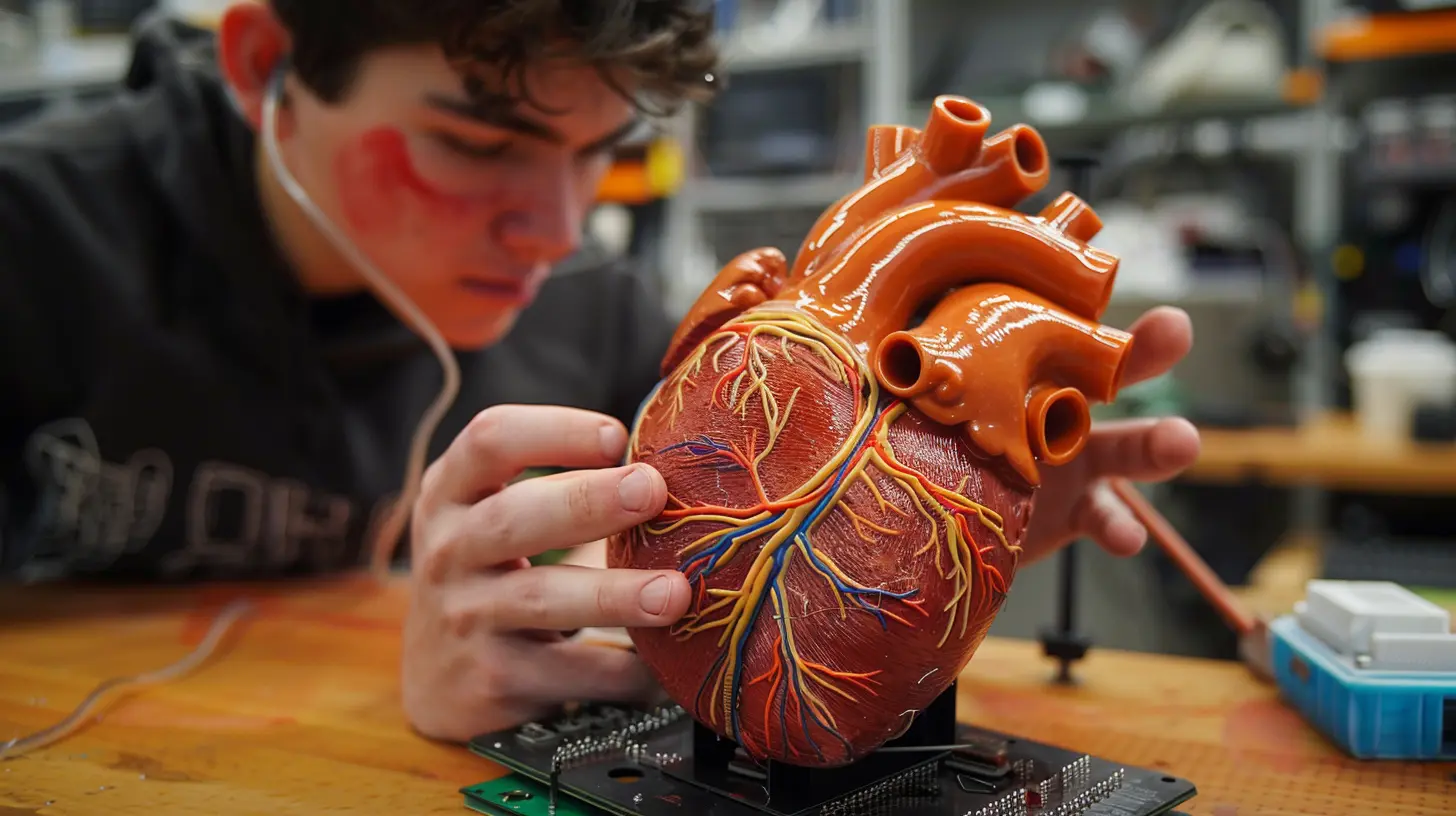
Have you ever wondered what’s going on inside your chest as your heart pumps away, keeping you alive? It’s fascinating, right? That rhythmic thump-thump that we can feel if we lay a hand on our chest or neck is our heart’s way of saying, “I’m working hard for you!” But here's the exciting part – you can get a closer look at how your heart works without needing fancy medical equipment. That's right! With DIY pulse monitors, you can explore the wonders of your own heart from the comfort of your home.
If this sounds like a fun science project or a cool way to learn more about your body, then you’re in the right place. In this article, we’ll dive into the world of DIY pulse monitors, how they work, and how you can build your own to explore your heart's rhythm. Ready to get started?

What is a Pulse Monitor?
Before we dive into the DIY side of things, let’s clear up exactly what a pulse monitor is. Simply put, a pulse monitor is a device that measures your heart rate. It does this by detecting the pulse, or the rhythmic expansion and contraction of an artery as blood is pumped through it by the heart.Most of us have probably used a pulse monitor at some point in our lives. You know that little clip they put on your finger at the doctor's office? That’s a pulse oximeter, a type of pulse monitor. But there are also many other types, from high-tech wrist-worn gadgets like the Apple Watch to more basic strap-on chest monitors used by athletes.
How Does a Pulse Monitor Work?
Now, let's get a bit technical – but not too technical, don’t worry! Pulse monitors work by detecting the tiny changes in blood volume that occur each time your heart beats. This process is called photoplethysmography (PPG).A PPG sensor typically shines a light (usually an LED) onto your skin, and then measures how much of that light is absorbed by your blood. With each heartbeat, blood flows through your arteries, altering how much light is absorbed. The sensor picks up on these changes and translates them into a readable heart rate.
Cool, right? And the best part is, you can make your own version of this at home!

Why Build a DIY Pulse Monitor?
Before we get into the nuts and bolts (literally) of building a DIY pulse monitor, let’s talk about why you might want to make one in the first place.1. Hands-On Learning
Building your own pulse monitor is an awesome way to learn about the human body, electronics, and how modern medical devices work. It's like a mini science lab right at your fingertips! Not only do you gain some valuable DIY skills, but you also get a deeper understanding of how your heart functions.2. Monitoring Your Health
Maybe you want to keep an eye on your heart rate during different activities, like exercising or meditating. Having a pulse monitor handy can give you real-time insights into how your heart responds to different levels of exertion and stress. Plus, it’s always fascinating to see how your body reacts in different situations!3. Fun Weekend Project
And hey, let’s be honest – it's just plain fun! If you're into tech, science, or health, building your own pulse monitor can be a rewarding weekend project that gives you something tangible to show for your hard work. You can even challenge yourself to make improvements or modifications along the way.
How to Build Your Own DIY Pulse Monitor
Alright, now for the part you’ve been waiting for – how to actually build your own DIY pulse monitor. You don’t need to be a tech wizard or have a ton of experience with electronics to pull this off. With a few simple components, you'll be measuring your heart rate in no time.What You’ll Need
Here’s a basic list of what you'll need to get started:- Arduino board: This will be the brain of your pulse monitor.
- Pulse sensor: You can buy a simple pulse sensor online. These are often labeled as "heart rate sensors," and they usually come with a light sensor and LED.
- Jumper wires: These will connect everything together.
- Breadboard: This is where you’ll assemble your circuit.
- Resistors & Capacitors: These small components help regulate the electrical current.
- USB cable: For connecting your Arduino to your computer.
Step-by-Step Guide
1. Set Up Your Arduino
First things first – you need an Arduino. If you've never used one before, don't worry! It’s a small, programmable circuit board that can control various inputs and outputs, like sensors and LEDs. You can buy an Arduino starter kit online, which usually comes with everything you need, including a guide to help you get familiar with the board.2. Connect the Pulse Sensor
Next, you’ll attach the pulse sensor to your Arduino. Most pulse sensors come with three wires: one for power, one for ground, and one for the signal.- Connect the power wire (often red) to the 5V pin on your Arduino.
- Connect the ground wire (usually black) to the GND pin.
- Finally, connect the signal wire (typically green or blue) to one of the analog input pins on your Arduino (e.g., A0).
3. Write the Code
Now comes the coding part, but don’t worry – you won’t need to write it from scratch. There are plenty of example codes available online for pulse sensors that you can easily upload to your Arduino. You’ll use the Arduino IDE (Integrated Development Environment) to upload the code to your board.Once the code is uploaded, your pulse sensor should start detecting your heartbeat. The signal will be displayed on your computer screen as a waveform, showing the peaks and valleys that occur with each heartbeat.
4. Test It Out
Place the pulse sensor on your fingertip or earlobe (these are the best spots for detecting a strong pulse). You should see the waveform on your screen change as your heart beats. You can also calculate your heart rate by counting the number of peaks in a given time period, or modify the code to display your heart rate directly.Cool, huh? You’ve just built your very own pulse monitor!
Troubleshooting Tips
If the sensor isn’t picking up your pulse right away, don’t panic. It might just need some adjustments. Try the following:- Check the connections: Make sure all the wires are plugged into the correct pins.
- Adjust the sensor placement: Sometimes, you may need to move the sensor to a different spot to get a better reading.
- Experiment with lighting: If you’re in a very bright room, the sensor might struggle to detect your pulse. Try dimming the lights or covering the sensor with your hand.

Exploring Your Heart Rate
Now that your pulse monitor is up and running, it’s time to have some fun and explore your heart’s behavior. Here are a few ideas for experiments:1. Measure Your Resting Heart Rate
Sit still for a few minutes and measure your heart rate while you're at rest. This is your resting heart rate, and it's a good indicator of your overall cardiovascular health. A lower resting heart rate usually means your heart is more efficient, while a higher rate could indicate that your heart is working harder than it should.2. Compare Heart Rates Before and After Exercise
Try taking your heart rate before and after a workout. You’ll likely notice a significant increase as your heart works harder to pump blood during exercise. This is a great way to see how your body responds to physical activity.3. Test Your Heart Rate During Meditation
On the flip side, why not check your heart rate during something relaxing, like meditation or deep breathing exercises? You may notice that your heart rate slows down as your body relaxes, giving you a real-time look at how mindfulness can affect your physical state.Wrapping It Up: The Power of DIY Pulse Monitors
Who knew you could explore the inner workings of your heart with just a few simple components and a little coding? Building a DIY pulse monitor is not only a fun project, but it's also a great way to learn about your body and how technology can help us monitor our health. Whether you’re a curious student, a DIY enthusiast, or someone who’s just fascinated by the human heart, this project is a fantastic way to get hands-on experience.By building your own pulse monitor, you’re not just passively learning – you’re actively engaging with how your body works. And who knows? Maybe this will be the start of an even deeper interest in health, tech, or bioengineering!
So, what are you waiting for? Get your toolkit ready, and start exploring the rhythm of your own heart.
all images in this post were generated using AI tools
Category:
Science ExperimentsAuthor:

Bethany Hudson
Discussion
rate this article
16 comments
Cora McKnight
What a fascinating exploration! DIY pulse monitors seem like a fantastic way to engage with our body's intricacies. Can't wait to try this!
March 27, 2025 at 4:32 AM

Bethany Hudson
Thank you! I'm glad you found it intriguing. Enjoy your DIY pulse monitor experience!
Ashley Williams
DIY pulse monitors? How adorable! Nothing says ‘I’m a heart health guru’ quite like using kitchen gadgets to analyze your pulse. Just remember, folks: it's called a ‘monitor’ for a reason—you might want to keep an eye on that!
February 4, 2025 at 5:19 AM

Bethany Hudson
Thanks for your playful comment! DIY pulse monitors can be a fun and accessible way to engage with heart health. Just remember to stay safe and enjoy the journey of exploration!
Kassidy Franklin
Ah, nothing screams 'professional cardiologist' quite like slapping together a DIY pulse monitor in your living room! Who needs medical degrees when we have glue sticks and a YouTube tutorial? Just kidding—let’s leave the heart stuff to the experts!
January 30, 2025 at 8:54 PM

Bethany Hudson
I appreciate your humor! While DIY projects can offer insights, it's essential to rely on professionals for accurate heart health assessments.
Tristan McKeehan
What a fantastic way to engage with science at home! DIY pulse monitors not only spark curiosity but also deepen our understanding of the heart's vital role in our health. Thank you for sharing this innovative and educational project!
January 27, 2025 at 7:52 PM

Bethany Hudson
Thank you for your kind words! I'm glad you found the DIY pulse monitors engaging and educational. Happy exploring!
Eliza McCaw
DIY pulse monitors empower students to engage with biology hands-on, fostering curiosity and a deeper understanding of the human heart’s function.
January 24, 2025 at 9:15 PM

Bethany Hudson
Thank you! I'm glad you see the value in DIY pulse monitors for enhancing students' engagement and understanding of biology. It's a fantastic way to make learning interactive and meaningful!
Elizabeth McKay
Who knew our hearts could double as DIY project managers? With these pulse monitors, you can finely tune your ticker’s rhythm like a bizarre orchestra! Just don’t forget to keep the jazz hands to a minimum while monitoring your heartbeat—safety first!
January 16, 2025 at 1:19 PM

Bethany Hudson
Absolutely! It's amazing how technology and creativity can harmonize our health. Just remember, a steady pulse is the best rhythm to follow!
Oren McCullough
What a fantastic article! Exploring the human heart through DIY pulse monitors is such a fun and educational way to engage with biology. It’s exciting to see hands-on projects that inspire curiosity and creativity in learning about our incredible bodies. Keep up the great work!
January 11, 2025 at 1:28 PM

Bethany Hudson
Thank you so much for your kind words! I'm glad you enjoyed the article and found the project inspiring. Happy exploring!
Jocelyn Bowers
Great article! DIY pulse monitors are an engaging way to explore and understand our incredible human heart.
January 4, 2025 at 8:57 PM

Bethany Hudson
Thank you! I'm glad you found the article engaging. DIY projects like these truly deepen our understanding of the heart!
Lexi Flores
This article beautifully bridges curiosity and hands-on learning! DIY pulse monitors offer a fascinating way to explore the inner workings of the human heart. I'm excited to see how these projects can deepen our understanding of physiology while engaging creativity and scientific inquiry.
January 1, 2025 at 6:03 AM

Bethany Hudson
Thank you for your thoughtful comment! I'm glad you found the article inspiring and appreciate the connection between creativity and scientific exploration.
Elowyn Wilkerson
Unlock the secrets of your heartbeat! As we delve into the world of DIY pulse monitors, discover not just the rhythm of life, but the hidden stories and mysteries our hearts may reveal. Are you ready to listen?
December 21, 2024 at 7:46 PM

Bethany Hudson
Absolutely! Excited to share how DIY pulse monitors can help us connect with our hearts' fascinating stories. Let's dive in!
Russell Lawrence
This article provides an engaging way to explore the human heart! DIY pulse monitors are a fantastic hands-on approach to learning. Thank you!
December 13, 2024 at 3:47 AM

Bethany Hudson
Thank you for your kind words! I'm glad you found the article engaging and the DIY pulse monitors beneficial for learning. Happy exploring!
Natalia Franco
This article effectively highlights the intersection of technology and biology through DIY pulse monitors, fostering an engaging approach to understanding cardiovascular health. It encourages students to develop hands-on skills while promoting awareness of vital signs, enhancing both learning and practical application.
December 12, 2024 at 3:40 AM

Bethany Hudson
Thank you for your insightful comment! I'm glad the article resonated with you and emphasized the importance of hands-on learning in understanding cardiovascular health.
Damon Rodriguez
This article beautifully highlights the power of hands-on learning! DIY pulse monitors not only foster curiosity about the human body but also empower students to engage with science in a meaningful way.
December 1, 2024 at 7:54 PM

Bethany Hudson
Thank you! I'm glad you found the article resonated with the importance of hands-on learning in understanding science.
Fenris Morales
Engaging DIY pulse monitors enhance understanding of cardiovascular health and foster hands-on learning.
November 30, 2024 at 5:04 AM

Bethany Hudson
Thank you! We're glad you agree that DIY pulse monitors can deepen our understanding of cardiovascular health while making learning interactive and enjoyable.
Calaris McIlwain
Who knew monitoring your pulse could be a DIY project? Next, can we DIY emotions?
November 29, 2024 at 11:20 AM

Bethany Hudson
Absolutely! DIY pulse monitors are just the beginning—improving our emotional awareness can be a personal journey too!
Nymira McGarvey
This article brilliantly captures the intersection of hands-on learning and biology. DIY pulse monitors not only enhance our understanding of cardiovascular health but also empower students to engage actively in their own education.
November 29, 2024 at 3:32 AM

Bethany Hudson
Thank you! I'm glad you found the article highlights the value of hands-on learning in biology and its impact on student engagement.
MORE POSTS

Unlocking the Secrets of Pi: A Guide for Students

The Importance of Early Screening for Learning Disabilities

The Power of Collaborative Learning: Building Stronger Minds Together

How Blended Learning Can Improve Learning Outcomes

The Role of Community Colleges in Expanding Access to Higher Education

The Benefits of Joining Student Clubs and Organizations

How to Use Learning Management Systems for Blended Learning

How to Build Strong Networking Skills for Career Advancement

The Importance of Disconnecting After School Hours

How to Make the Most of Synchronous and Asynchronous Learning